Overview
The process of wiring a 3D printer can be intimidating. There is always a fear of getting wires mixed up and accidentally frying a new motherboard. Fortunately, this fear is usually blown out of proportion as most 3D printer motherboards feature polarity (i.e. incorrect wiring) protection. Nevertheless, if you are new to wiring then you are may be overwhelmed by all the different types of wire, crimp connectors, and wire management options that exist.
Wire Selection
Many if not all 3D printer components come pre-wired. Depending on your printer’s design these wires may be long enough to connect all the electrical components to the motherboard, but typically, at least a couple pairs of wires will be too short. It is best to attach all the electrical components (e.g. limit switches, stepper motors, etc.) to the frame now to determine which pairs of wires need to be extended. When judging wire distances it’s important to keep in mind that many of the electrical components will move during the printer’s operation, so save yourself a headache and measure all wire distances from the farthest possible point the electrical component will be from the motherboard.
Conductors
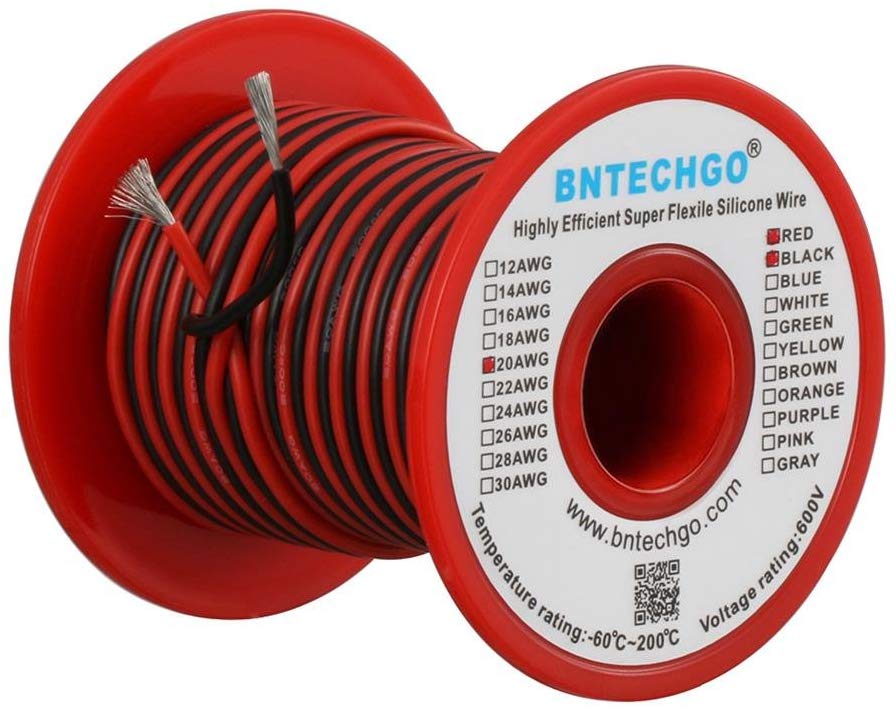
Once you have identified which wires are not long enough, you will need to purchase a spool of wire to extend them with. Unfortunately, there is a not a one size fits all when buying wire. Most likely you will have to purchase wires of different thicknesses. The thickness or gauge of the wire determines how much current the wire can safely carry without heating up. A cooling fan requires significantly less current to operate compared to a heating element. Therefore, a thicker or lower gauge wire will be needed to supply power to the heated bed compared to the wire needed for the fan. My typical workflow for selecting wire is:
- Determine the current draw of the electrical component by looking at the datasheet
- Look up a gauge-current rating chart
- Search Amazon (or wherever) for a wire with a gauge suitable for the current draw
- Double check in the description of the wire that it can safely carry the amount of current needed
- Purchase
When you look up a gauge-current chart you will notice that the type of conductor (i.e. the type of metal used to make the wire) as well as the state of the conductor (single core vs. multicore) will all play a role in the maximum amount of current the wire can handle. These different options can make it a little difficult to confidently know the maximum amount of current the wire can carry especially when purchasing wire off a website like Amazon that is not a dedicated electronics distributor. Always crosscheck the information provided in the description of the wire with the gauge-current rating chart and when in doubt always use a thicker wire. Wires should never feel warm to the touch when supplying power to a component. If this is the case in your printer build then the wire diameter is too small, and this is a fire risk!
Insulators
The wire insulation or sheathing is another important consideration. At the very least, having wires with different colors of insulation can help you identify which wire goes to what terminal or component. In 3D printing where high temperatures are present I always opt for insulations with high temperature resistances, such as silicone. Wires with silicone insulation are typically very flexible and easy to manage, albeit slightly more expensive.
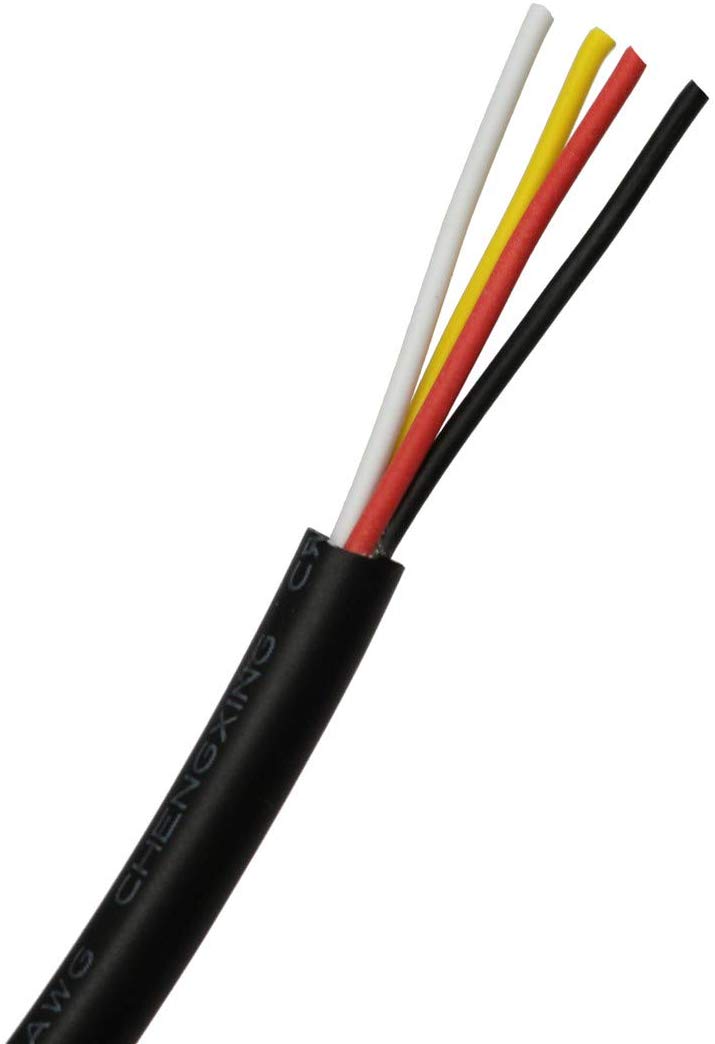
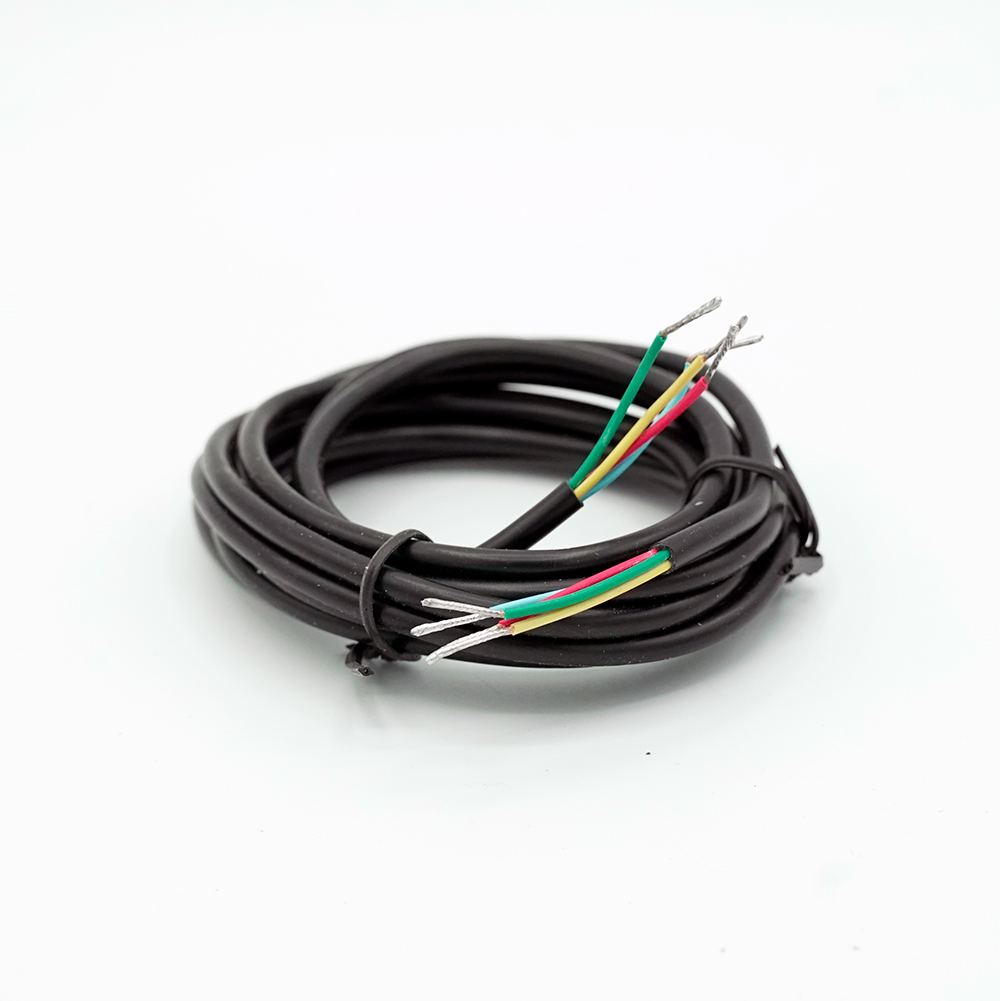
To greatly improve the aesthetic of the wiring, wires with multiple separate conductors confined to one sheath (Figure 1) are recommended for extending the four leads of the stepper drivers.
Wire Extension and Splicing
As discussed above wires need to be extended when they are not long enough to reach the motherboard, but there are other instances where wires need to be connected together, such as connecting two fans together so they turn on at the same time. These electrical connections need to be made in such a way that they do not come undone for safety reasons and for the printer to operate properly.
Soldering
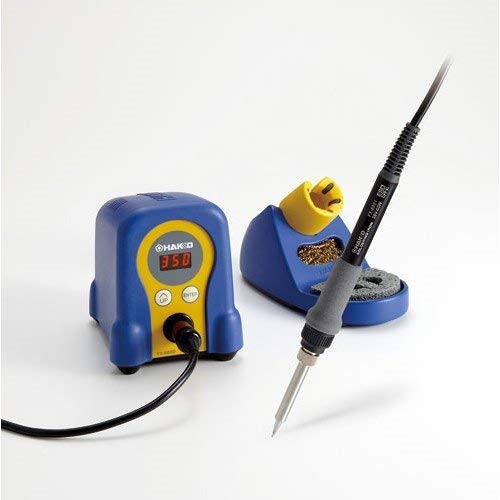
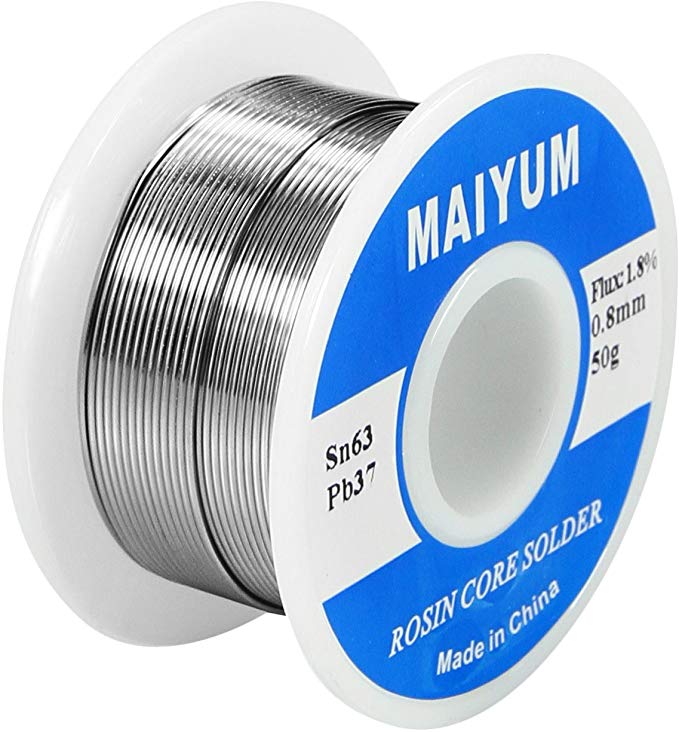
Soldering is the cheapest way to form a permanent connection between two conductors. If you do not own a soldering iron then building a 3D printer is the perfect excuse to purchase one. The soldering iron is an invaluable tool in almost every electronic project. There are however a couple downsides to a solder-based connection. The first downside is that it is a fairly slow and tedious process if you do not have an extra set of hands. The second limitation is soldering is not as forgivable to wiring mistakes as the other technique we will discuss. If you solder two wires together incorrectly then usually you have to remove the heat shrink or electrical tape and then heat up the solder to disconnect the wires. Overall, the cost savings of soldering far outweigh these drawbacks for many DIYers.
Pluggable Connectors
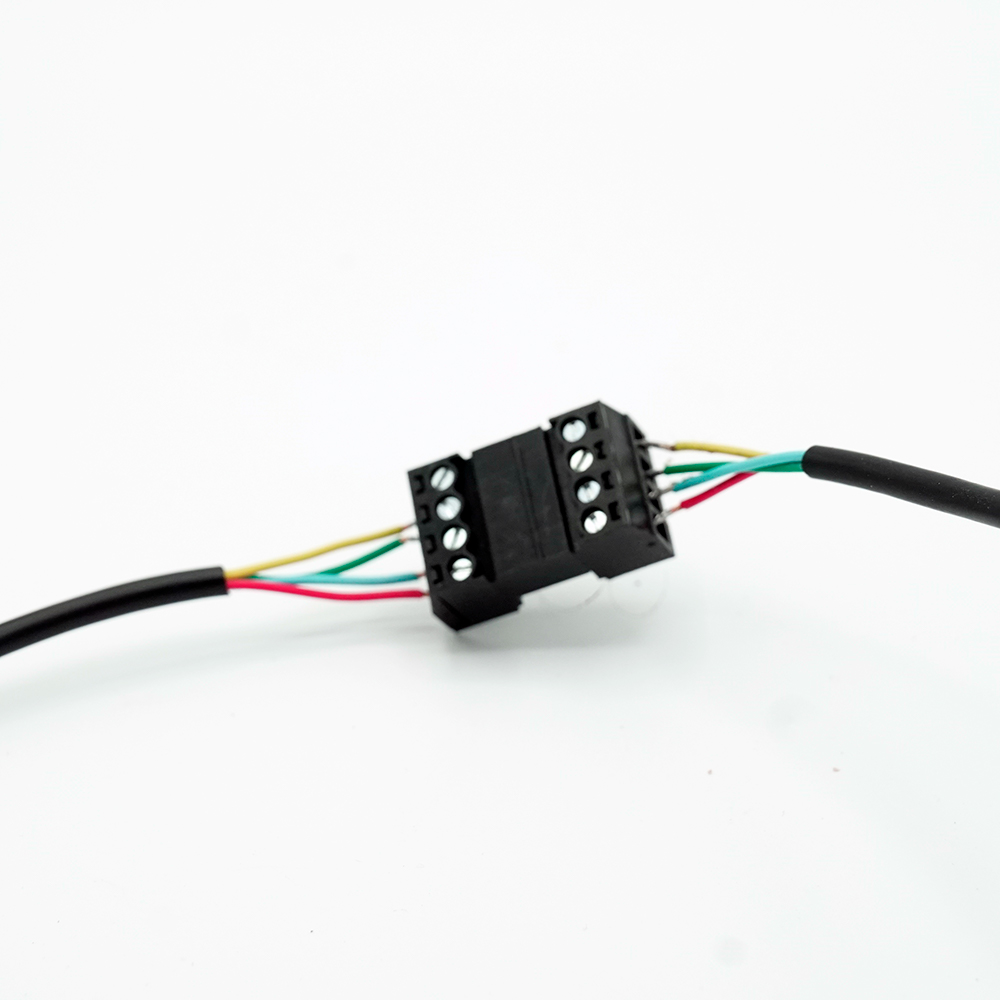
The other option to making a connection between two wires is through some sort of pluggable connector. My favorite example of such a connection is a screw terminal based male and female plug (Figure 2). The wires are pressed against conductor strips by screw clamps and these conductor strips connect to the opposing terminal that houses the second set of wires. The benefit of this type of connection is that it can be accomplished with only wire strippers and a screw driver. Further, the screw clamps can be reversed and the wire order can easily be changed. The main drawback is that these connectors are expensive and quickly add costs to your 3D printer build when many wires need to be extended.
Wire-to-Motherboard Connections
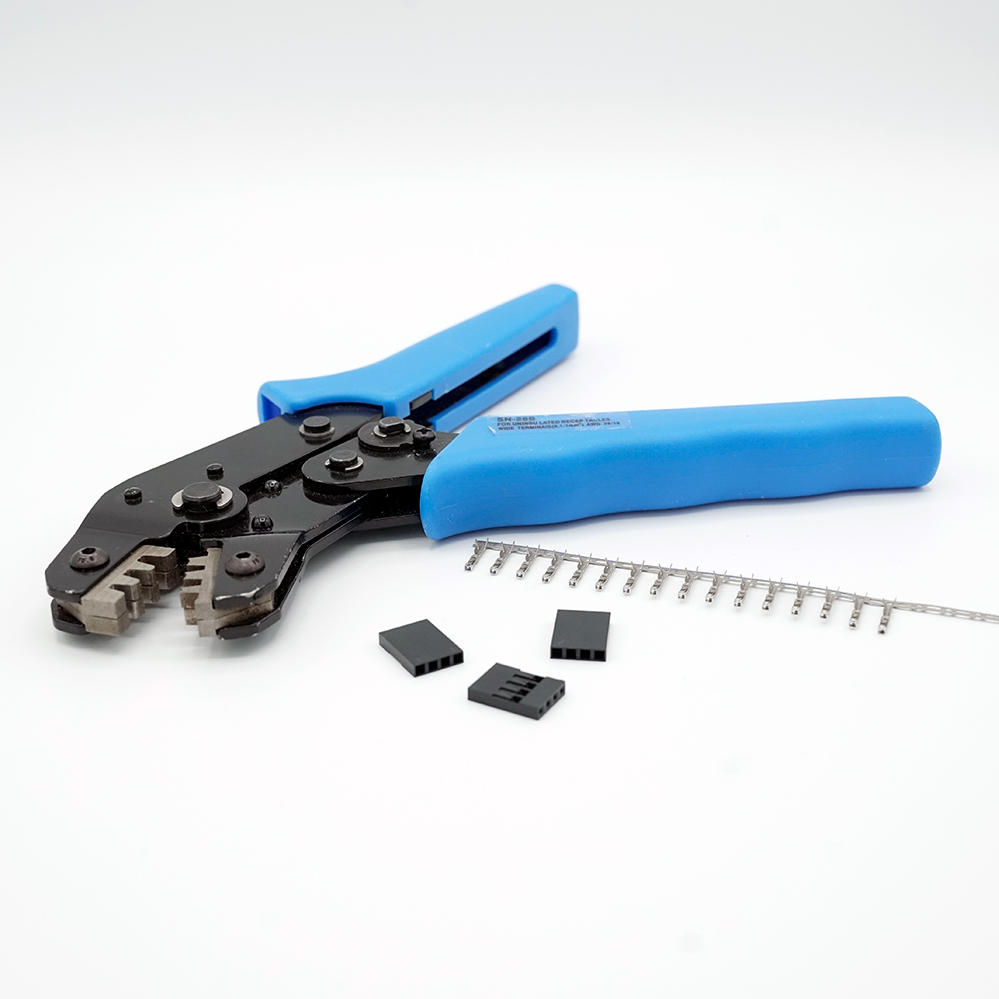
Typically, high current components like the power supply and heated bed are connected to the printer motherboard through screw terminals. Other electrical components like the limit switches and stepper motors are usually connected through Molex connectors. Molex is an umbrella term for a pin and socket connection. The actual type of Molex connector, which there are many, will depend on the motherboard. Matthew Millman over at Matt’s Tech Pages does a great job dissecting all the different types of connectors that you could come across when wiring up the components to the motherboard. Fortunately, many of the Molex connectors can be installed by the same crimping tool (see recommended products below).
The Costs of Wiring
Buying all the tools needed to complete the wiring (e.g. wire strippers, crimpers, soldering iron, etc.) can cut into the cost savings of building your own 3D printer. If you plan on working on other projects electronics projects in the future then owning these tools is a must. If your future does not include electrical work or you are tight on a budget then try and borrow these tools from friends or local makerspaces.
Polarity
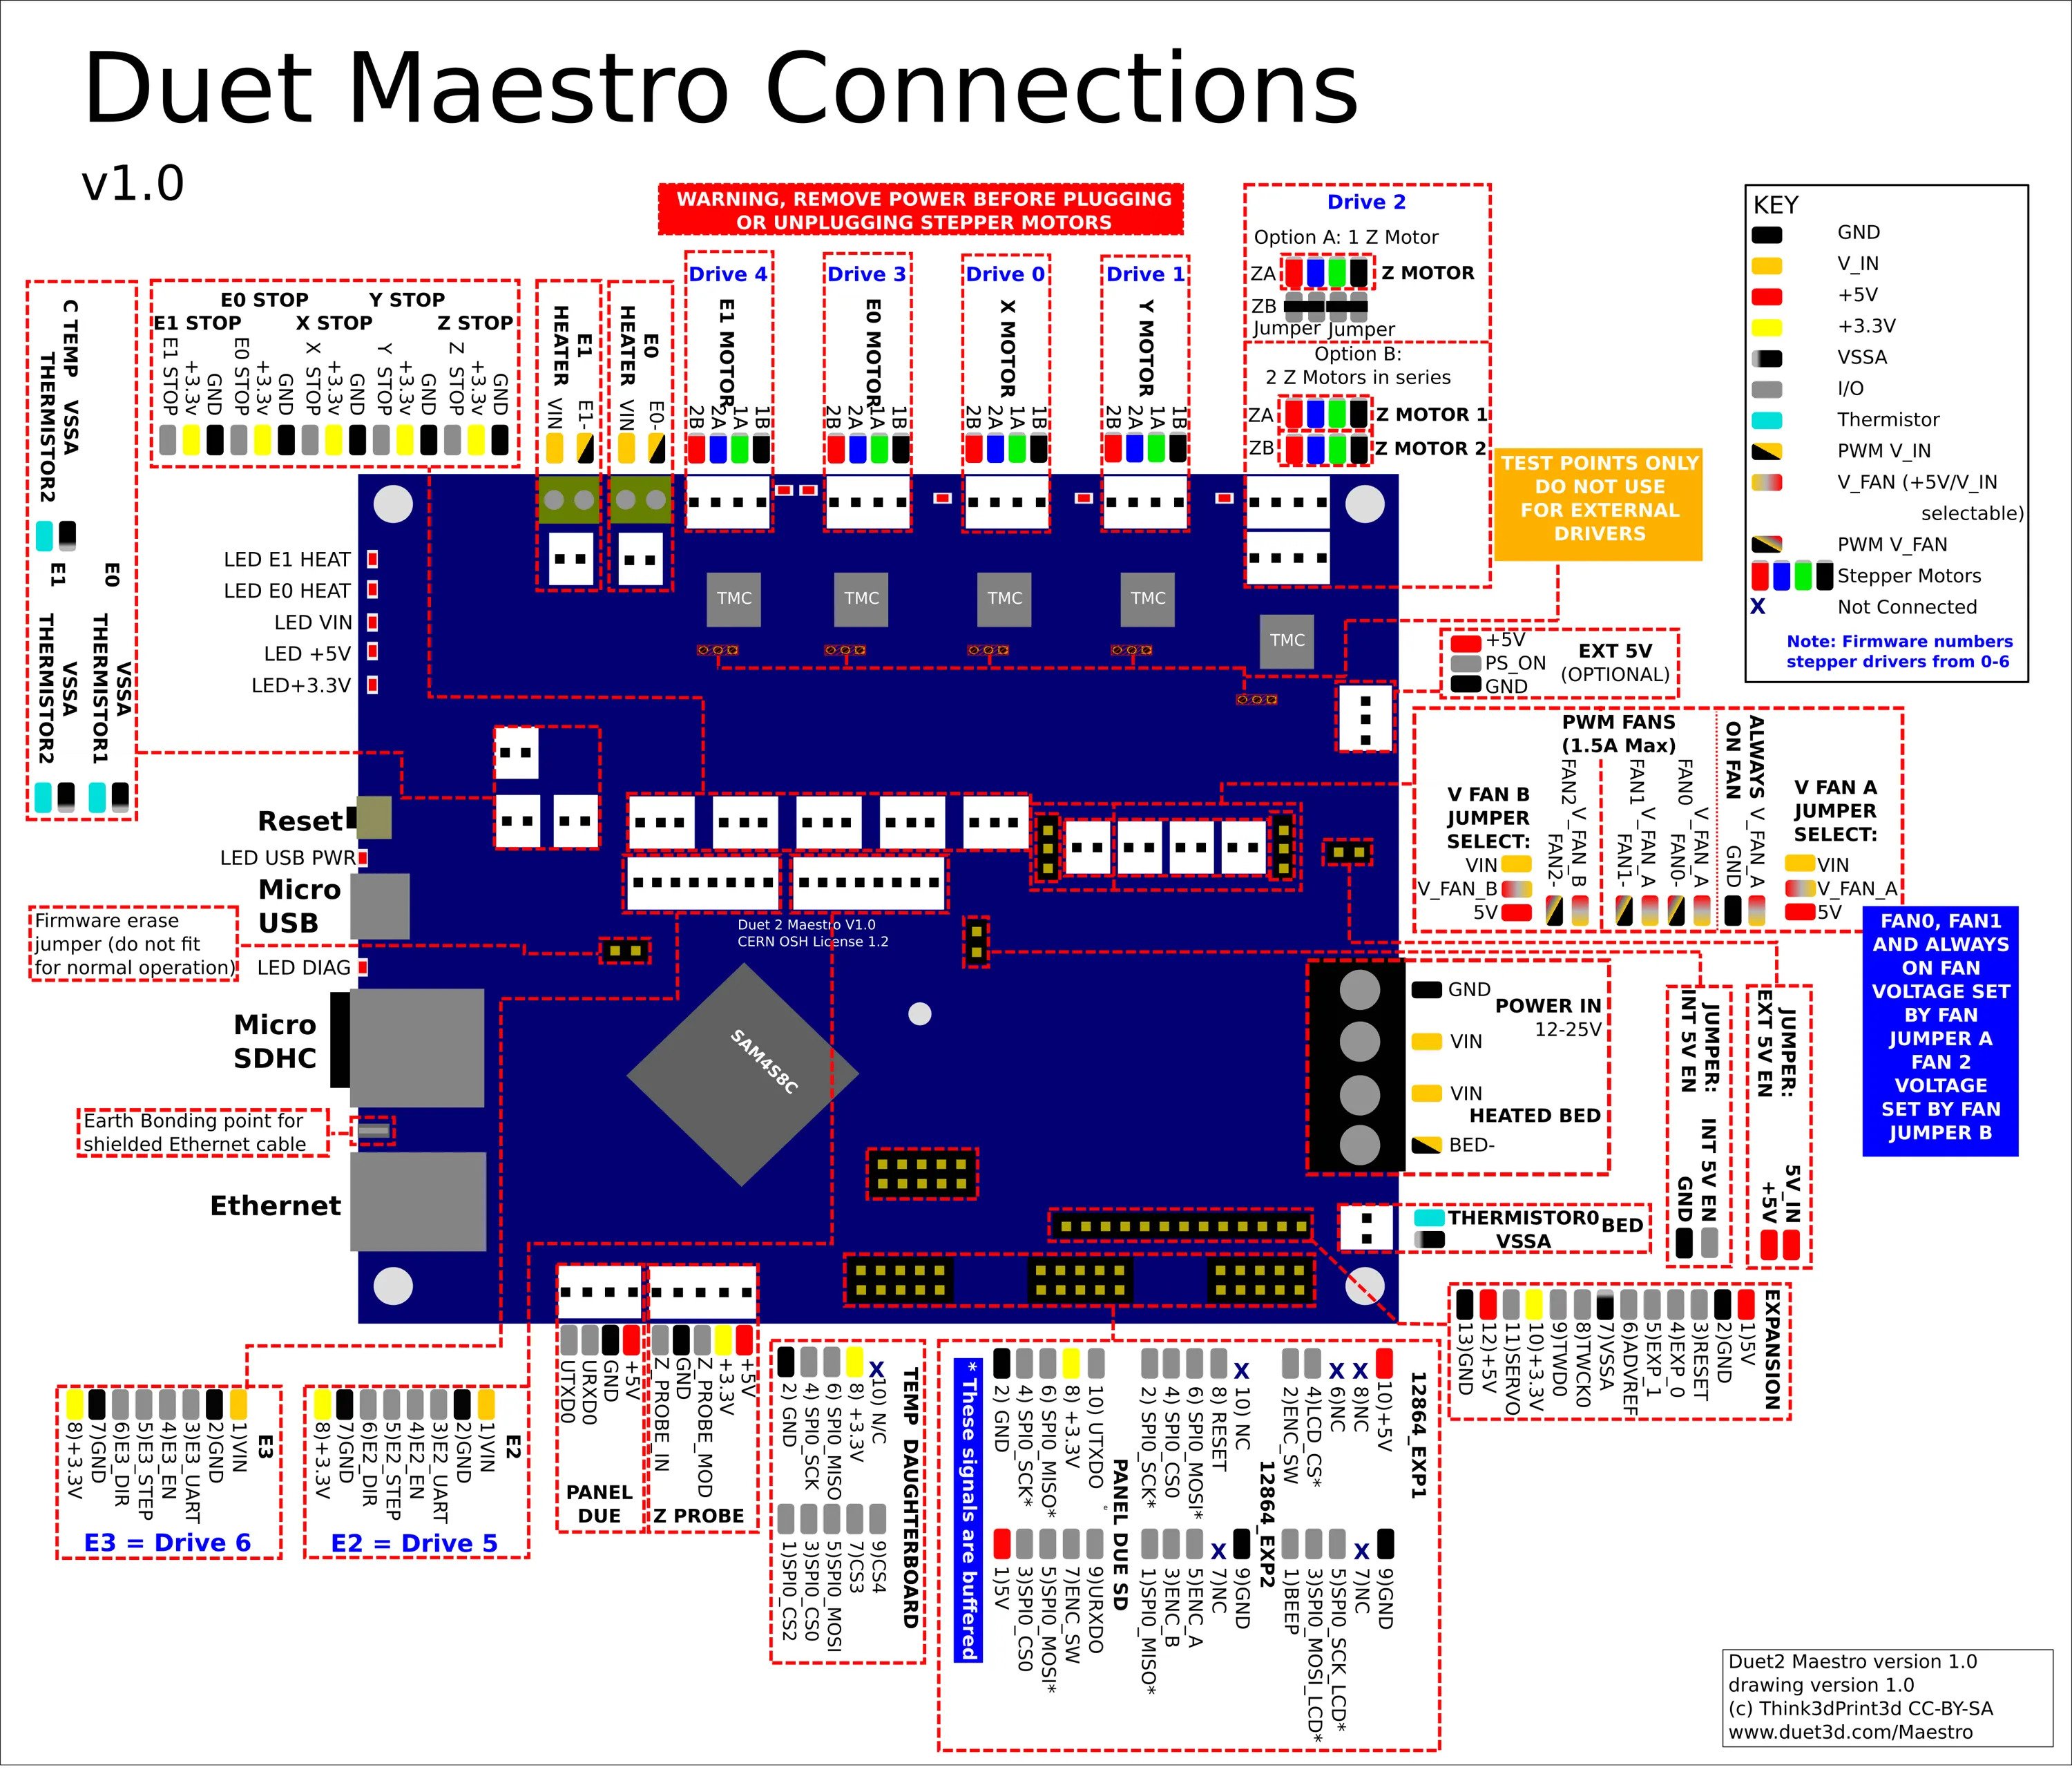
First and foremost, before connecting electrical components to the motherboard you should study the wiring diagram that is specific to your motherboard. This will save you a lot of time and possibly money. I will briefly talk about wiring some common 3D printer electrical components, but again, the motherboard wiring schematic trumps anything that is said here.
Most of the 3D printer electronics are blind to the polarity of a circuit. Its easiest to explain this concept through an example: both the heating element and temperature sensing resistor of the extruder can be plugged into their corresponding pins in either of the two possible directions and will work. Therefore, these components are blind to the flow of current. This is not the case for all components like LEDs or more importantly the power supply. It is critical to get the polarity correct for the positive and negative wires coming from the power supply to the motherboard. You should always reference your motherboard’s wiring guide and the physical marks on the motherboard to determine which terminal on the motherboard is for the positive power input and which one is for the negative power input.
Let’s walk through the other components to determine if they are sensitive to polarity. The heated bed is also just a fancy resistor so its wires can be connected either way to the heated bed terminals. The limit switch isn’t as straightforward. The polarity does not matter but some of the higher end motherboards have an extra pin to supply the power needed for an optical or magnetic limit switch. But for a mechanical limit switch you don’t need this third pin, so you want to make sure that you don’t connect the switch to it. The part cooling and cold end fans are sensitive to polarity in sense that they will only work if the red wire is connected to the positive pin and the black connected to the negative pin. If this was reversed, it’s not the end of the world the fan would not turn on until the wiring is corrected but nothing would be damaged.
External Resources
There are a lot of different ways to successfully build a 3D printer, many of which are not covered on this website. If you want to learn more about wiring, then click through some of the links below to external websites and forums.
Recommended Products
The table below contains parts specific to this section that Dr. D-Flo uses and recommends. Depending on your printer build these parts may or may not be compatible. It is best to use the products below as a launching point to explore similar products on the linked websites. Affiliate links may be present below (depending on the vendor).