Overview
The print bed is where the filament from the extruder is deposited. Depending on your printer’s design the print bed is fixed (i.e. it does not move) or is attached to a linear axis and moves. Either way the print bed’s main purpose is to be an adhesive platform for the extruded filament. If the printed part fails to adhere to the bed, then there is little chance that the print will finish. Unfortunately, part adhesion is a frustrating issue that never seems to go away, especially when trying out new filaments.
Bed Adhesion
Build Plate
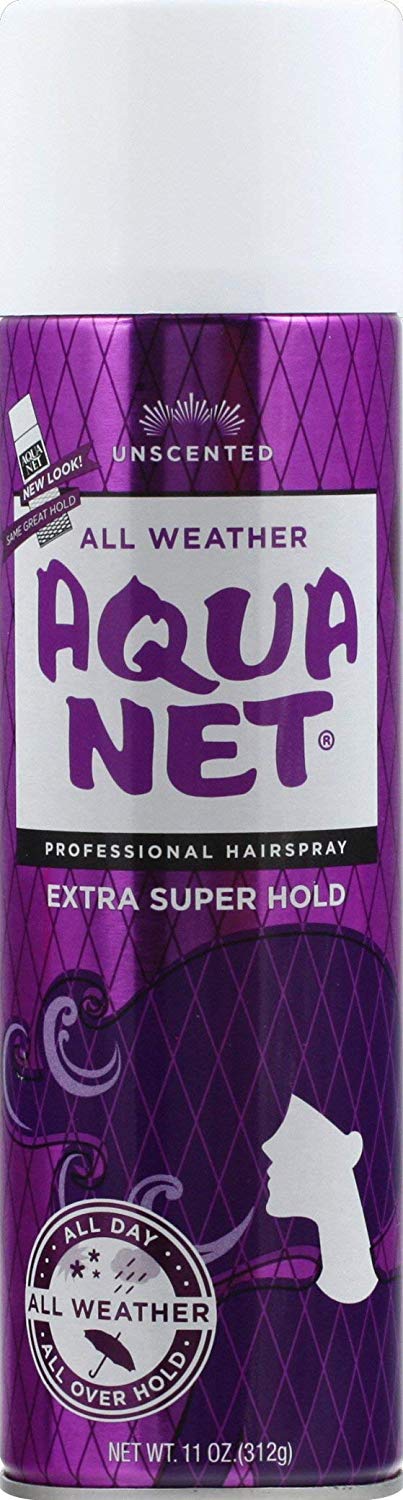
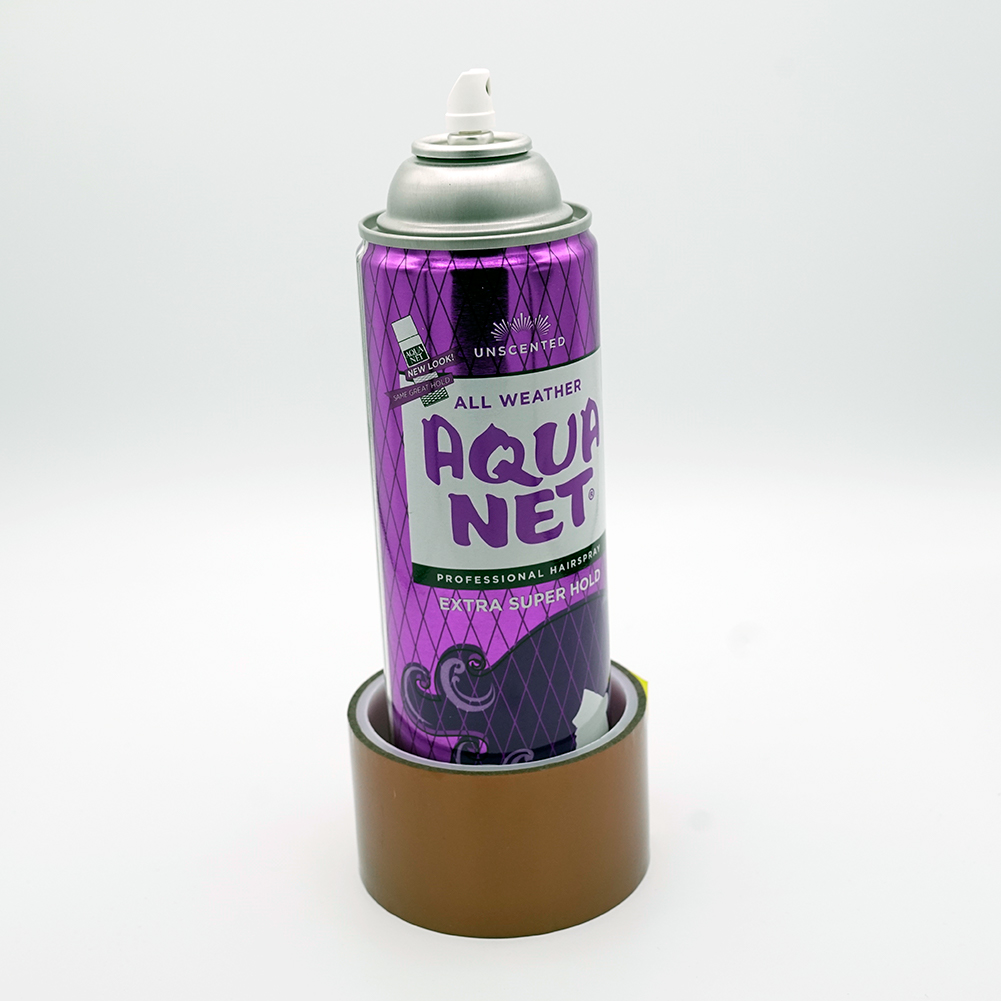
There are many modifications that can be made to make the print bed “sticker”, but first let’s discuss what the base print bed material should be. In my opinion, glass is the best choice for the print bed. Glass is smooth, flat, cheap, comes in a variety of sizes, and the surface can be easily modified. A glass build plate can be covered with any of the number of proprietary 3D printer adhesive surfaces that are available online. But I find these products to be too pricey for the slightly better adhesion that is achieved compared to the old school method of spraying the build platform down with hair spray. If you have never heard of using hairspray for increased bed adhesion, then you are in for a treat. Basically, the polymers that are present in the hairspray form an interface on the build platform that the hot extruded plastic likes to attach to. The best hairspray for the job is Aqua Net.
Bed Leveling
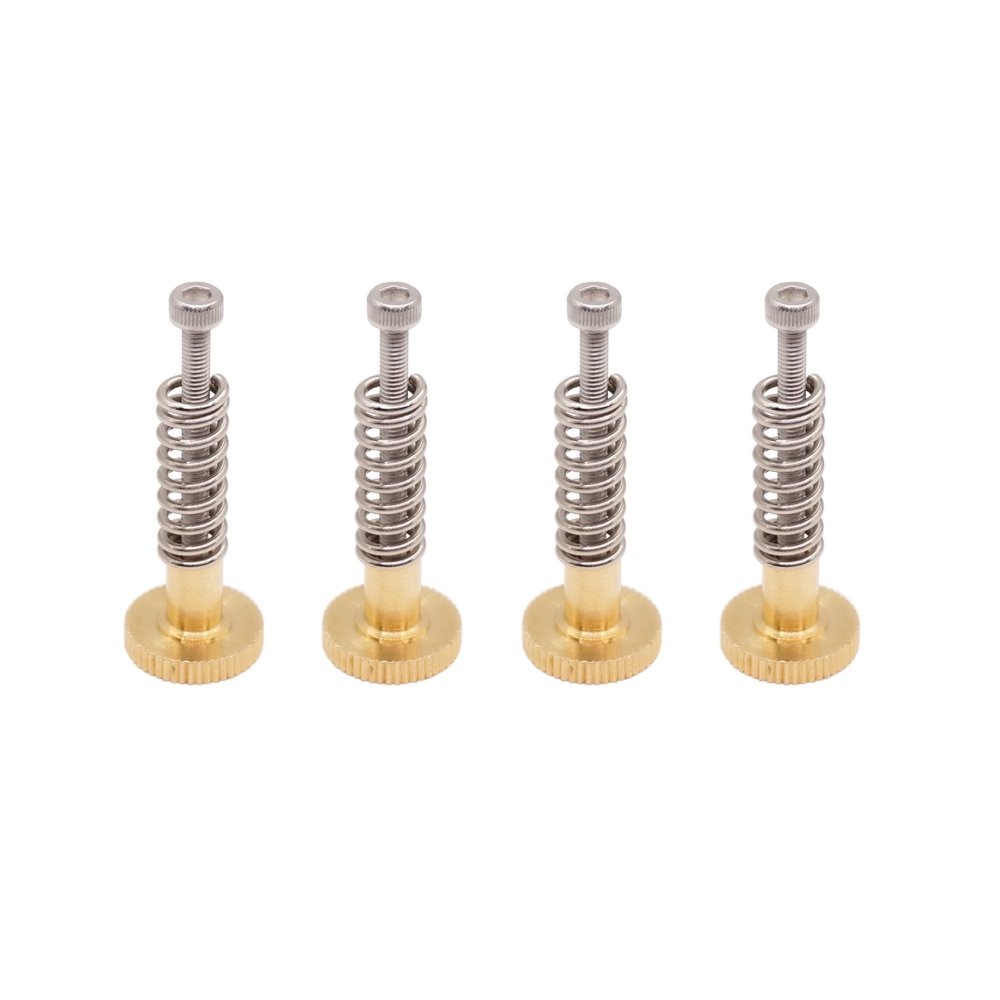
No matter how adhesive your print bed is, the first printed layer will not adhere properly if the bed is not level. It’s easy to check if a print bed is level by moving the extruder across it. If the distance between the tip of the extruder and the bed changes then adjustments need to be made. There are fancy software tricks that can compensate for an unlevel bed, but it is best practice to build in manual adjustments into each corner of the build platform. This is accomplished by building in leveling springs or set screws to compensate for high or low spots in the build platform.
Heated Bed

As the molten filament is deposited on the build platform, the edges of the print will cool faster than the center of the part. This uneven cooling causes uneven contractions in the part, which manifest in the corners lifting off the bed platform. This is called warping and is not only undesirable aesthetically, but also, is unwanted because it can affect the dimensions of the 3D printed part. To combat warping, most 3D printers have a heating element under the build plate to maintain a constant temperature throughout the part as it cools. Heating the build platform to 60 degrees Celsius will prevent warping when printing many different plastics. While technically a heated bed platform is not required, the benefits far outweigh the cost.
External Resources
There are a lot of different ways to successfully build a 3D printer, many of which are not covered on this website. If you want to learn more about print beds, then click through some of the links below to external websites and forums.
Recommended Products
The table below contains parts specific to this section that Dr. D-Flo uses and recommends. Depending on your printer build these parts may or may not be compatible. It is best to use the products below as a launching point to explore similar products on the linked websites. Affiliate links may be present below (depending on the vendor).